The ODroid GO is a handheld console that sells itself as a device that will run emulators of all your favourite 8bit systems. And it does that job rather well, I spent at least five minutes with mine playing Tetris, and it was a good emulation. Then I installed the Arduino libraries for it, plugged in a USB cable and started trying things out.
I quickly came to the realisation that the Arduino libraries were easy to use, but if you wanted to make a game, they were also very limited. The ESP32 has its own RAM, but can also have external RAM attached to its SPI bus. The ODroid GO comes with 4MB of external RAM. Unless you use the Arduino libraries, and then the external RAM doesn’t exist. Doing basic things like writing text and drawing coloured squares is easy. Sprites and actual gamey stuff requires much more effort, and the Arduino libraries hide a lot of the functionality from you.
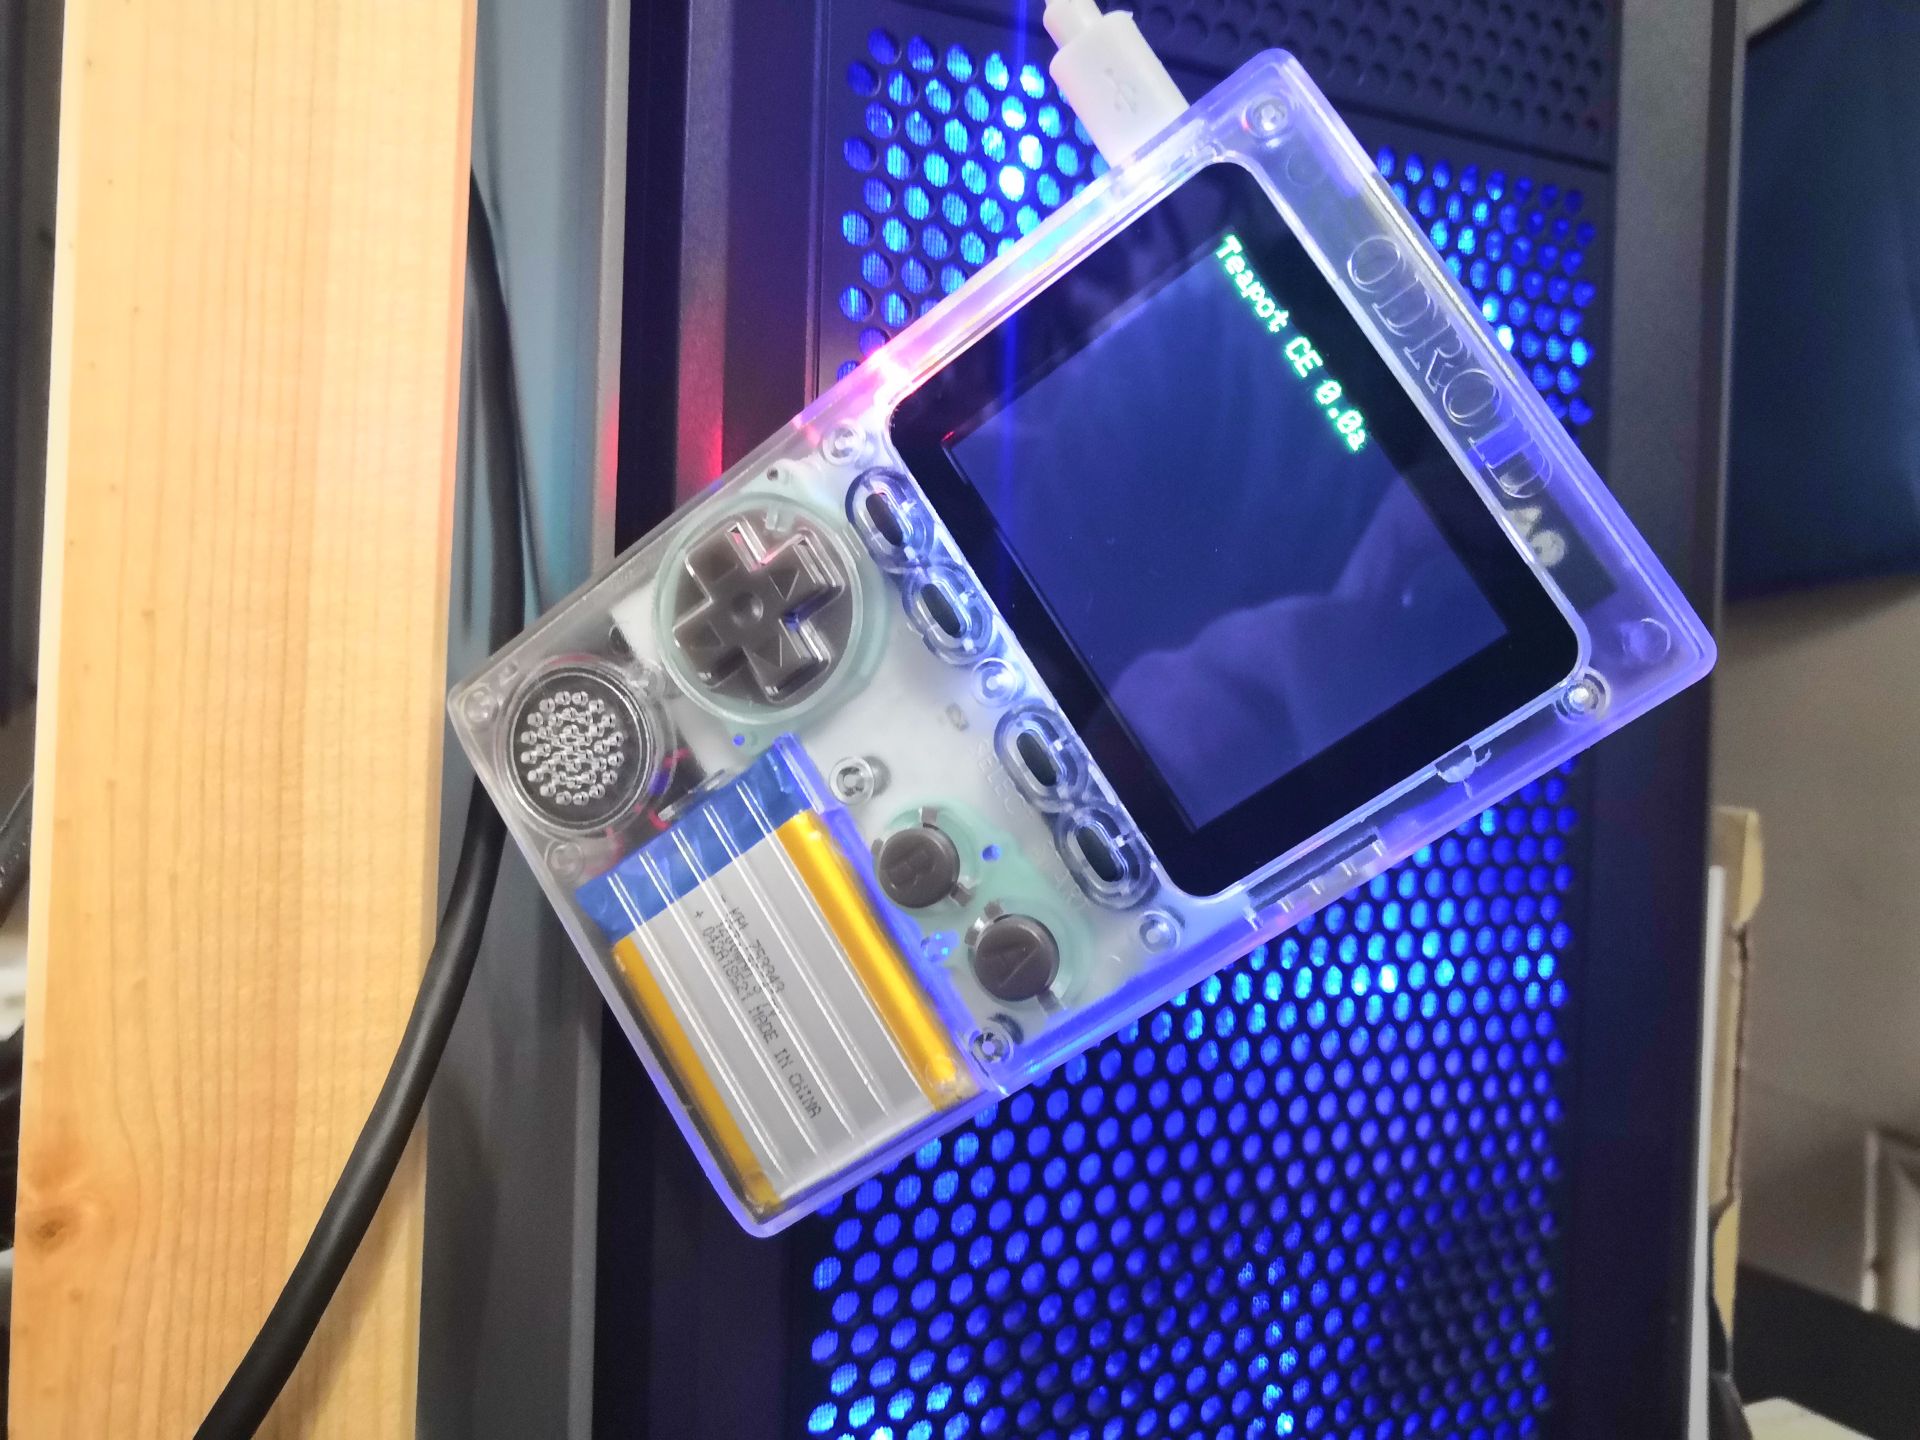
Fortunately there is a toolchain called ESP-IDF which comes with some nice documentation on how to get started. I set up VirtualBox with an install of Ubuntu and then installed the ESP-IDF toolchain. It seems wrong calling the ESP-32 a microcontroller, it’s pretty much a real computer. The CPU has two cores, the external RAM is mapped into CPU address space and it runs an operating system called FreeRTOS which provides stack traces, watchdog timers and serial debugging output.
My aim is to write Snake for it, to learn how the system works. I made Snake work on my Arduboy (a similar device, but based around an actual Arduino) before it died, so I have the logic sat in an Arduino sketch to look at. All I need to do first is
- Figure out how to draw on the screen
- Understand how to make use of the two CPU cores
- Work out user input
So far I can do the first two. There’s no documentation for any of this, beyond a rather helpful Github repository belonging to one of the people who wrote the emulators for it, and a forum that contains the odd useful snippet of information. I spent several hours going through the code tracing it out by hand to understand what was going on with it.
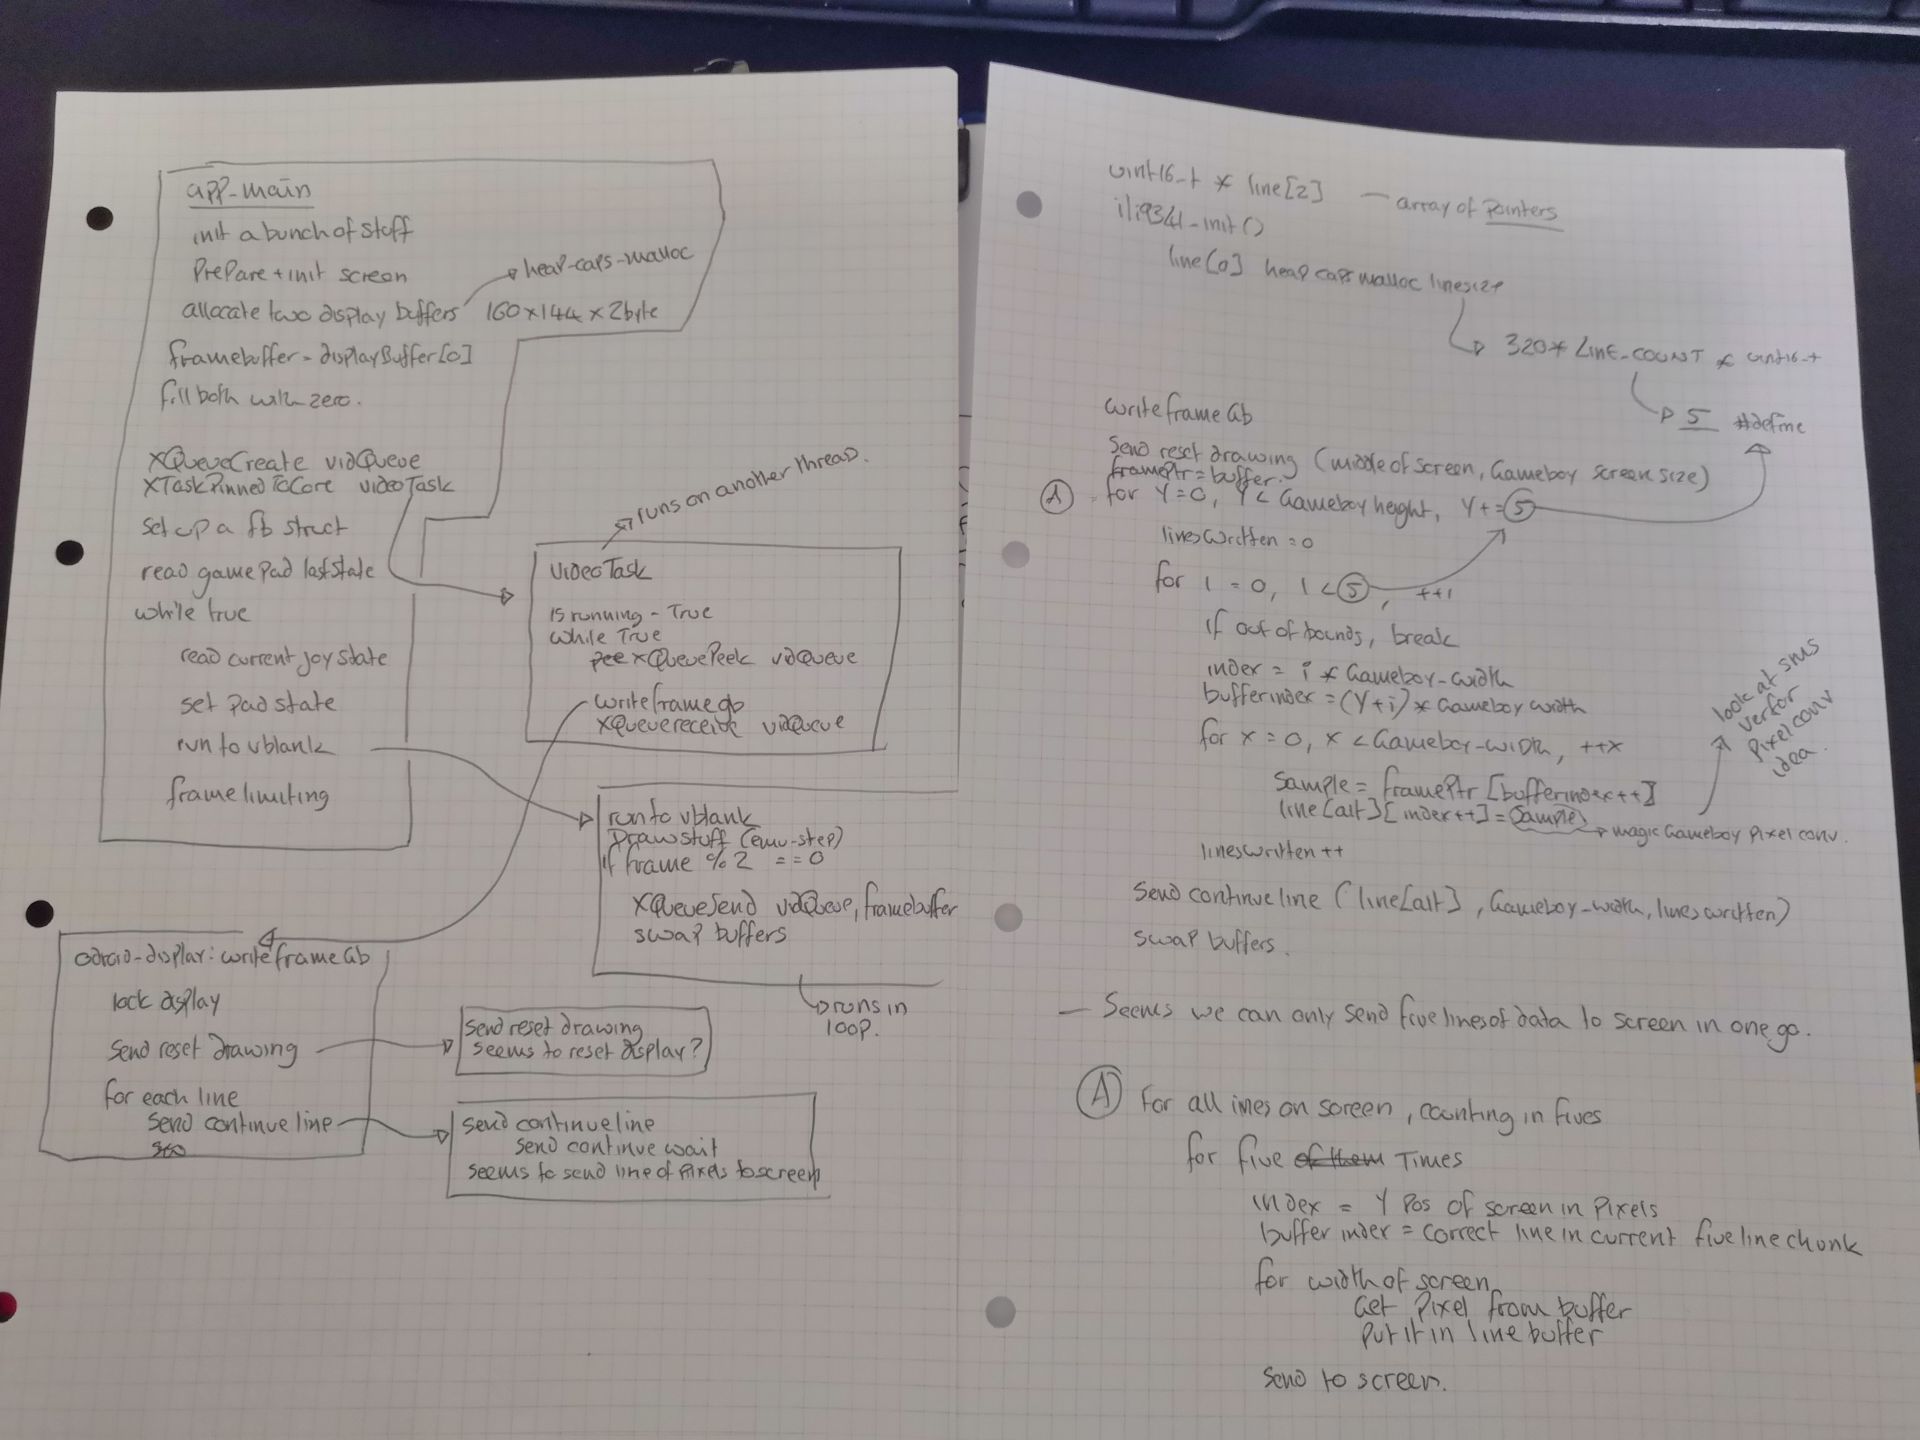
Reverse engineering source code is a fun activity, the code starts off as an unintelligible mess, but after reading it several times a few concepts start to appear. It’s not just a random for loop, it’s the actual code for drawing the pixels on the screen. No, wait, it’s not drawing them on the screen, it’s just copying them into a memory area… so how does that get on the screen? Oh that’s in this other function, but why isn’t this second function being called at all? Oh I see, it’s running in another thread, so how is that controlled?
You follow that kind of logic for a few hours and things start to make enough sense to copy and paste code into your own file to test. After fixing the inevitable compiler errors this happens…
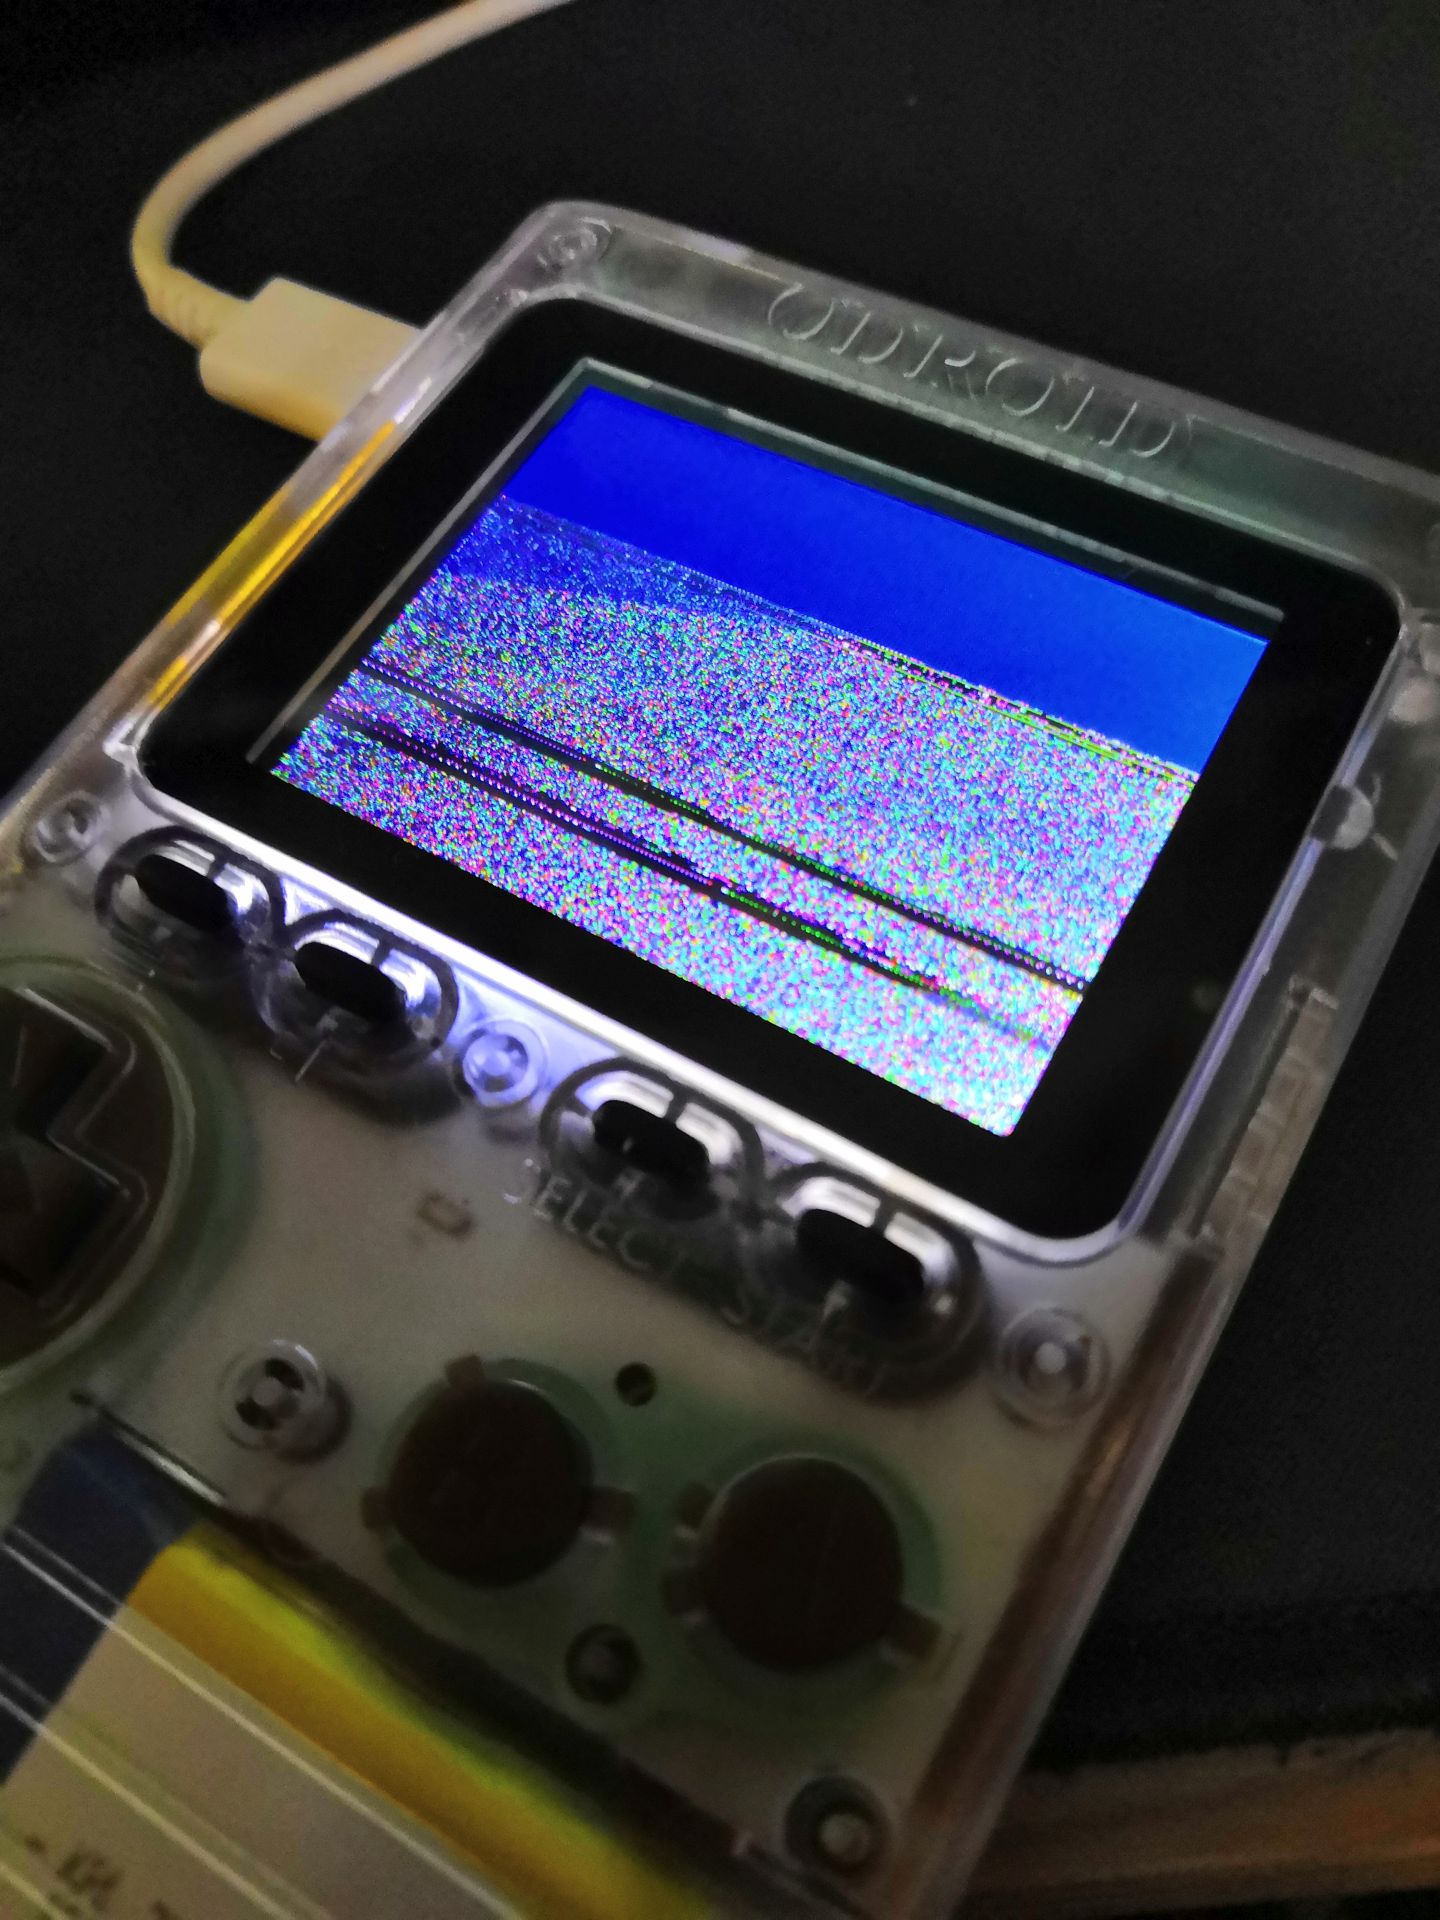
It’s not quite right, but it’s doing something. Up to that point the best I got was a device that’d panic and reboot itself endlessly, and not draw on the screen. There was also a brief period where it would draw on the screen, but really really slowly. So slowly you could see each line being drawn. I had a horrible feeling that maybe the device was horrifically slow, and the emulators were using special tricks that required deep and arcane knowledge of the hardware. Fortunately I found some alternate code for drawing the screen and everything ticked along at a nice 45-50FPS…
It also turns out that if you create a block of memory using 16bit pointers, and then pass it around in your code using 8bit pointers things get a little… screwy.
After a day of debugging and problem solving, I managed this:
I think that will do for the day.


One response to “Odroid Go Raw Coding”
[…] previous code just drew a bunch of rectangles on the screen. It was the easiest thing I could do to check my […]