Before we begin…
I know, there’s nothing particularly special about drawing on a screen in 2D and making objects move. However, the device I’m using isn’t actually designed to do this.
The ODroid-GO contains an ESP32 microcontroller which is designed for Internet of Things applications – smart devices that can talk WiFi, Bluetooth and control things using easily programmed GPIO pins. Want to make your washing machine controllable via the web, then an ESP32 would be the perfect choice. Want to make a video game with at least 30FPS gameplay, colour, sound and realtime user input? Then a microcontroller is not the correct device. Even ODroid’s own examples show it either being used to run pre-made emulators, or making use of the IoT functionality with the Arduino libraries. Game programming is not covered.
The ESP32 is a pretty powerful device, it’s got 512KB of internal RAM, a CPU that runs at 240MHz and has connections to the outside world via a USB port for debugging and programming, and the SPI bus. However the SPI bus runs at 40MHz and if you overload the CPU trying to shovel data out of it a watchdog timer wakes up and reboots the machine. Attached to the SPI bus is 4MB of RAM and a 320×240 LCD. Fortunately the CPU contains two cores which turns what would be an awfully painfully slow device into something that’s pretty decent.
So I can use more than 512K of RAM, providing the relatively slow memory access isn’t an issue, and I can send data to the screen. The screen isn’t just some bitmap in RAM, it’s a separate device that requires its own programming and the data sending to it in its own format. Fortunately someone else wrote this code, and it’s rather weird and unique. You see to send an image the whole thing can’t be sent in one go, there’s too much data and things stall or time out. Instead the process appears to be the following:
- Create a “framebuffer” in RAM to hold the pixel data. Write into this as if it were the screen.
- One one CPU core, write your code to fill the framebuffer with data
- On the other CPU core, write a routine that takes data from the framebuffer and sends it to the screen over SPI, as quickly as possible
- Try not to stall either CPU as that triggers a watchdog timer and resets the device
The data being sent to the screen is sent in chunks. In the code I’m using, it appears that sending five lines of pixels is the maximum that can be sent in one go. The CPU core sending this data loops as fast as possible performing this task.
Flipping Bits
One of the “unique features” of this setup that has continually tripped me up at least twice a day has been the format of the data going to the screen. The screen understands 16 bit colour, formatted as RGB565 format pixels. So each pixel takes two bytes, with 5 bits for red, 6 for green, 5 for blue. For some reason I don’t fully understand, while both the screen and the ESP are little-endian, the two bytes per pixel need reversing, otherwise the colours become garbled.
I discovered that The GIMP has an “Export as C Source” option, which creates a C struct full of the image data and makes importing images into my code easy. The ODroid Go does have an SD card slot, but I’ve yet to learn how to make use of it. For now I’m including chunks of data in my source instead.
Optimising Code
The previous code just drew a bunch of rectangles on the screen. It was the easiest thing I could do to check my understanding of the device was correct. Clearly games aren’t that exciting when there’s no pretty graphics. I had one major problem though, my code was really inefficient. Drawing a single 32×32 rectangle to the screen made the main loop run at 30FPS. Trying to add more than 30 sprites made the watchdog timer wake up, and trying to draw sprites bigger than about 128×128 made the device hard reboot.
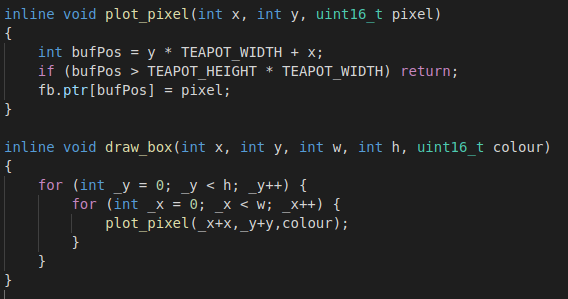
This was one those situations where I knew there would be a much simpler way of writing the code. All I’m trying to do is copy a block of memory from one place to another, as quickly as possible. For a 32×32 pixel image, I’m either trying to do 1024 individual copy operations or with a bit of slightly smarter thinking I just need to do 32 copy operations that are 32 pixels in size. The C memcpy() function is good for this, it’s generally agreed that the compiler will know the best way to copy lumps of data and hides that inside memcpy.
As a small test, I disabled all screen drawing and the code ran at 45FPS. This would be my benchmark, if my code had an impact on performance, I’d see this number drop.
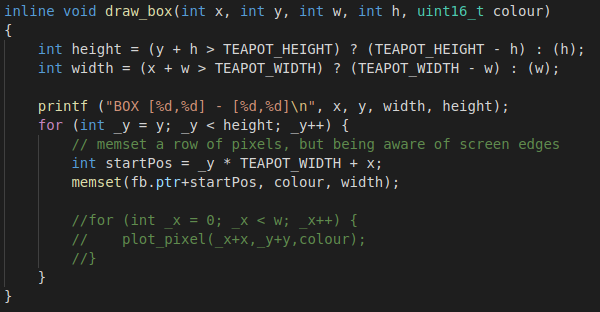
I tried again, making use of memcpy’s companion command memset() which doesn’t copy data, but will efficiently set data to a specific value. After compiling and running the code, my framerate went up to 42FPS. That’s 12FPS more than the version with the nested for loops, and only 2FPS slower than not drawing anything on the screen.
The Blitter
I used to have an Atari ST, you could install a support chip called a “blitter chip” which existed solely to do block image transfers, freeing up the CPU to do other things. I needed one of those. Drawing a rectangle on the screen at set co-ords is easy, the maths isn’t that hard. What I couldn’t figure out is how to do that for an image, and after half an hour of repeatedly crashing the device I realised that what I was trying to do was a very common task back in the 90s. While looking online at other code, I came across someone else who’d been experimenting with drawing images on an ESP32 with a screen. He’d created a small library and put the code up on github.
The code featured a “blit” function that would copy one rectangular image onto another, and place it at a set co-ordinate. That’s the code running in the first image on this post. I could now draw my own images in The GIMP, export them into code, import the code into my project and display on the screen. I added a small routine to read the joypad so the image could be moved around.
Screen clearing and dirty rectangles
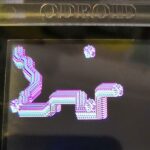
As soon as I moved the image, I realised the next step in my graphics programming journey. Look closely again at the image:
Notice the “smear” of sprites that looks like a snake? That’s because I’m not clearing the display after each frame. Normally in graphics programming like this you wipe the screen clean before each frame is created, or you draw your background over the screen first. If you don’t, bits of the previous frame get left behind.
The problem is, the ESP32 isn’t fast enough to draw 320×240 pixels to the screen and have a decent framerate. I tried, it kept triggering the watchdog timer and the game dropped to a fairly weak 12FPS. So just by wanting to wipe the screen clean I lost 30FPS. That’s no good! I needed a new approach, and again the solution lied in the past. Back when CPUs were measured in singular MHz, there was neither the time nor power available to draw the entire screen every frame. Instead various tricks were implemented. A popular one being known as “dirty rectangles” (Windows still uses this for the mouse pointer and dialog boxes, all forms of remote desktop use it too).
I found a brief explanation on the PyGame website, and another explanation on the old Allegro forums from 15 years ago. The general process is to somehow keep a copy of the part of the screen you’re about to draw on top of, and then when the sprite needs drawing elsewhere, you put that copy back to “erase” the sprite. My variant is to have a background image that gets drawn to the screen once, and then pieces of it are blitted to erase the sprites.
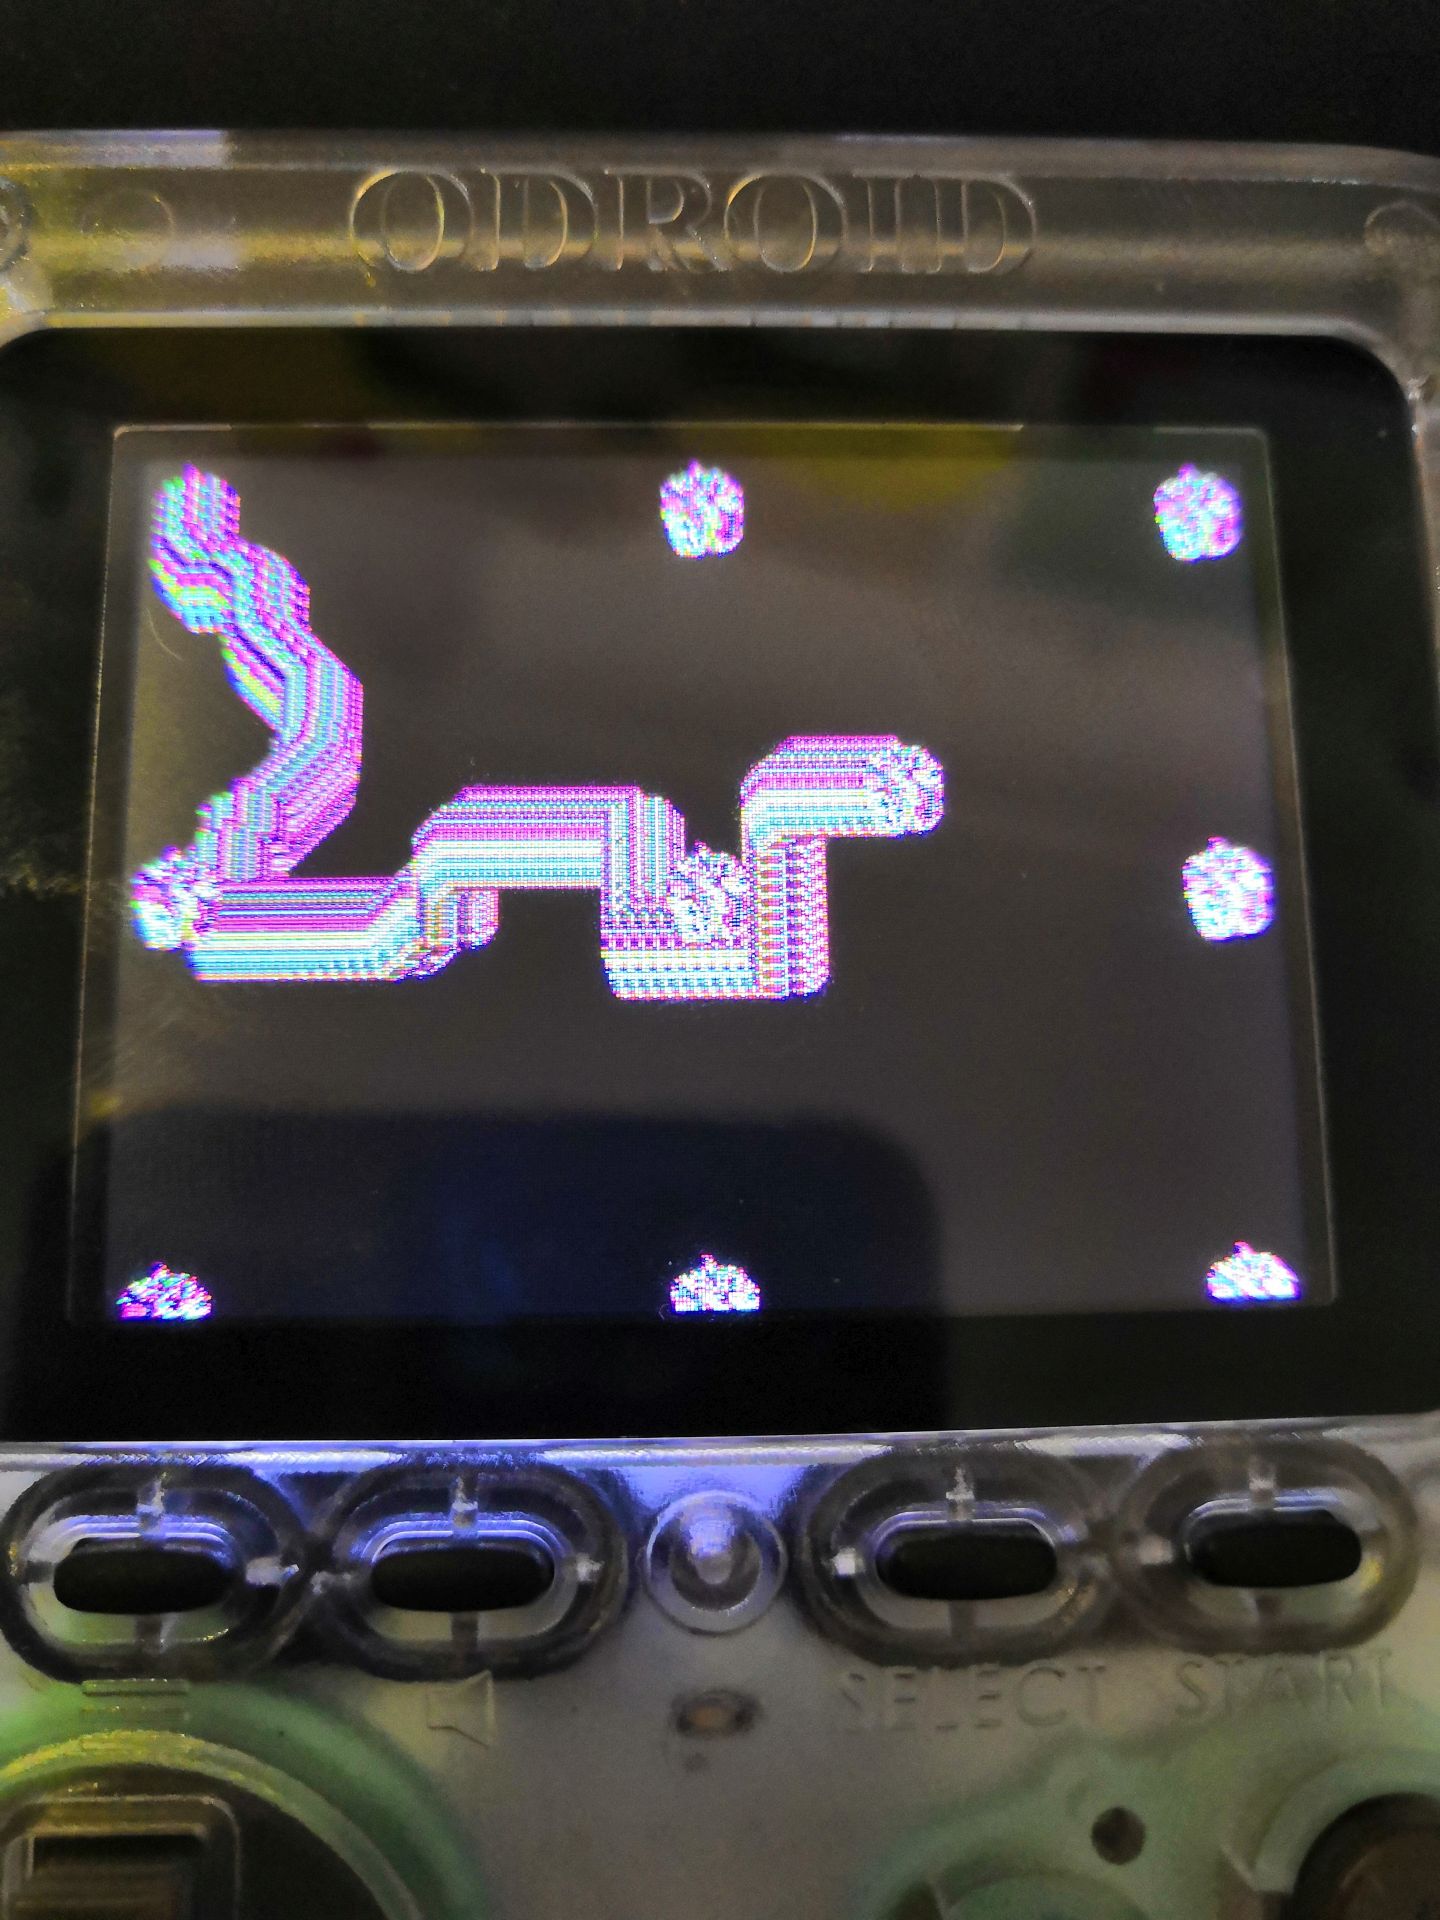
My first attempt didn’t go so well…
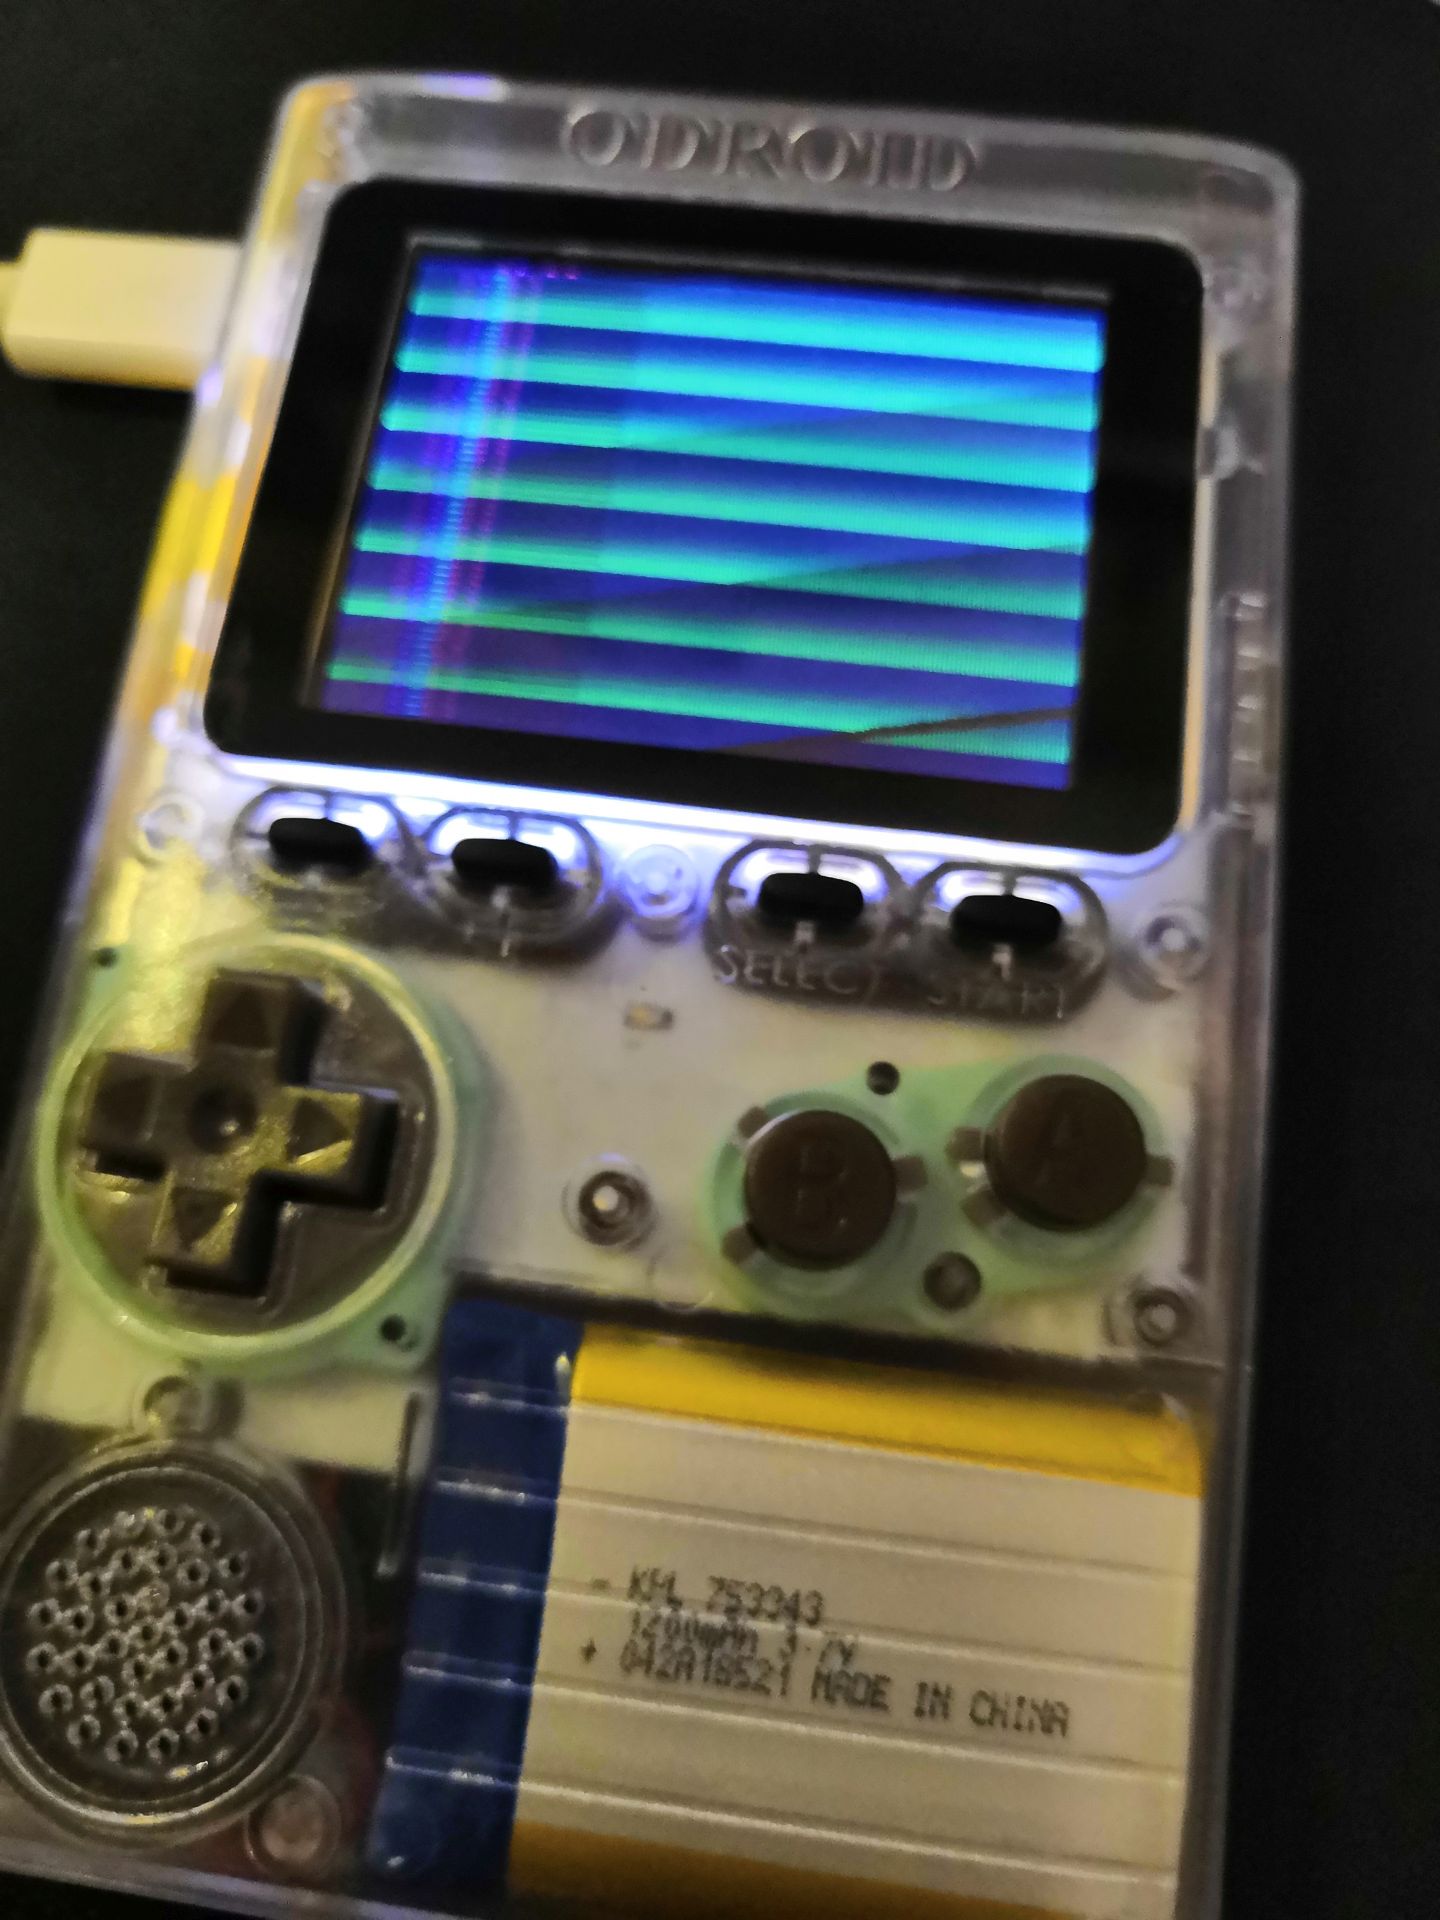
Remember me saying the image data was in a certain format, and it kept confusing me? Well what you see up there is the result of trying to write the wrong part of memory onto the screen. It was a small bug and easy to fix. I don’t have an image of it working, because I was too busy trying to implement the next idea…
Transparency
I don’t have a plan, I’m just following a logical set of tasks. Having managed to draw images to the screen and erase them afterwards so they don’t smear, I noticed that sprites aren’t rectangles. They are whatever shape they need to be – Mario, a space ship, whatever. I needed to draw transparent parts of my sprites (or, more accurately, not draw the transparent parts!). And I needed to do this in a way that didn’t involve my code checking every single pixel with an if statement to see if it should be transparent.
There is no alpha channel
The screen data is RGB565, there is no alpha channel. There’s no hardware to do alpha blending; if I wanted transparent pixels, I’d have to do it myself in such a way that didn’t kill performance. Exporting PNG files from a graphics program is not going to work, and also wouldn’t make too much sense – we’re using a display that is smaller than the icons for most Android and iOS apps… There’s not that many pixels.
Sprite Masking
Again the past contains the routine for doing this. It’s well documented process and pretty easy to understand. It’s also incredibly easy to implement – providing you have a working blitter function. Wikipedia even has an entry that makes total sense, complete with image examples. All you do is draw your sprite on a black background. Then you create a mask of your sprite, with all the transparent areas coloured white, and all the visible areas coloured black.
Then you blit the mask to the screen, using bitwise AND. This will stamp the shape of your sprite on the screen in black. Finally the sprite itself is blitted to the screen using bitwise OR. The black background of the sprite will be ignored, and so will the black shape of your sprite. It’s incredibly simple, super quick and made no difference at all to the FPS counter – we’re still ticking along at 42FPS.
The finished code
And that’s where I’m at now. I have my own graphics routines that will draw 16bit colour images to the screen, allow me to draw transparent sprites that can be moved without leaving artefacts, all without slowing the system down. I am limited by the number of sprites I can realistically draw, the screen isn’t big enough for thousands, and the system can’t handle drawing that many either, so expensive particle effects aren’t possible. Scrolling the entire screen is also not something I want to try. I’ll restrict my games to being single screen with a limited number of sprites visible – it’s how old games used to be anyway.
here’s a video of what I managed
Next time: Collision detection…